Follow Me On Social Media!
Reese’s Chocolate Truffles: A No-Bake Peanut Butter Dream
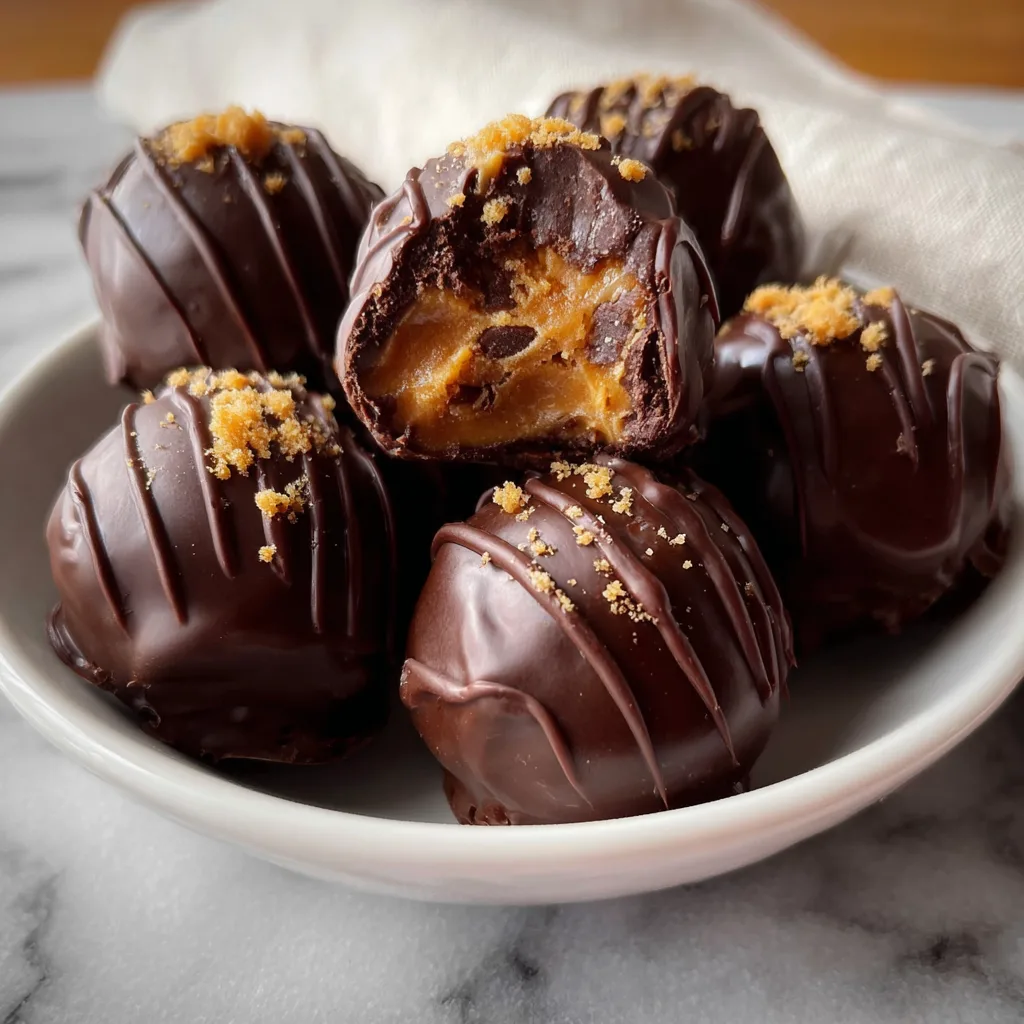
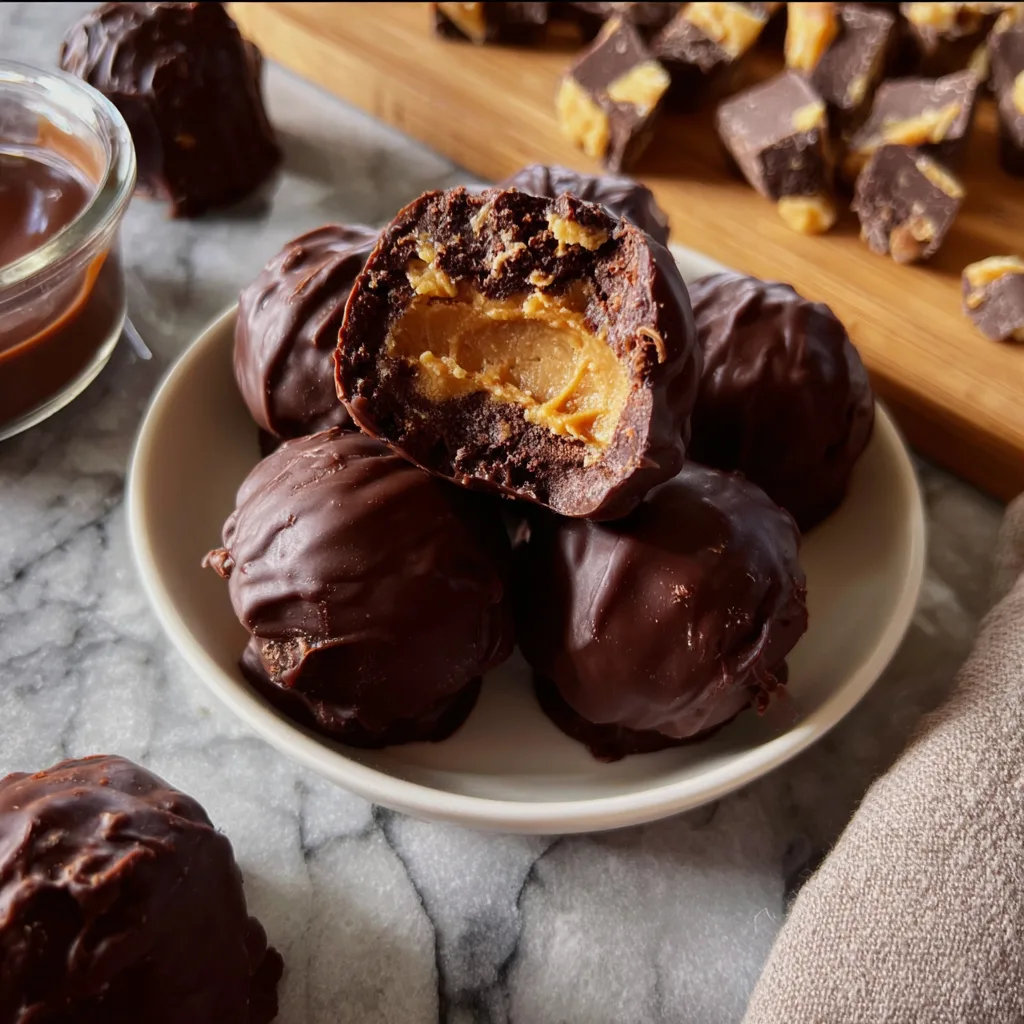
Reese’s Chocolate Truffles are everything dessert lovers crave in one bite: rich chocolate, creamy peanut butter, and that unmistakable Reese’s flavor wrapped into an indulgent, no-bake treat. These truffles are smooth, decadent, and incredibly easy to make, making them perfect for holidays, parties, gift boxes, or late-night chocolate cravings.
Unlike traditional truffles that rely on heavy cream and ganache, Reese’s chocolate truffles are built around a peanut butter base that stays soft and creamy inside while the chocolate shell sets with a satisfying snap. The result is a dessert that feels luxurious but comes together with simple ingredients and minimal effort.
If you love Reese’s cups, these truffles take that flavor profile to the next level — richer, smoother, and customizable with toppings, drizzles, or coatings.
Why Reese’s Chocolate Truffles Are Always a Hit
Peanut butter and chocolate is one of the most iconic flavor combinations in dessert history. The salty-sweet balance, creamy-meets-smooth texture, and deep cocoa notes make it universally appealing.
What sets these Reese’s chocolate truffles apart is their texture contrast. The interior is soft and melt-in-your-mouth, while the outer chocolate coating adds structure and visual appeal. Because they’re no-bake, they’re also incredibly reliable — no oven timing, no temperature stress, just mix, chill, dip, and enjoy.
They’re also easy to scale up, making them ideal for entertaining or gifting.
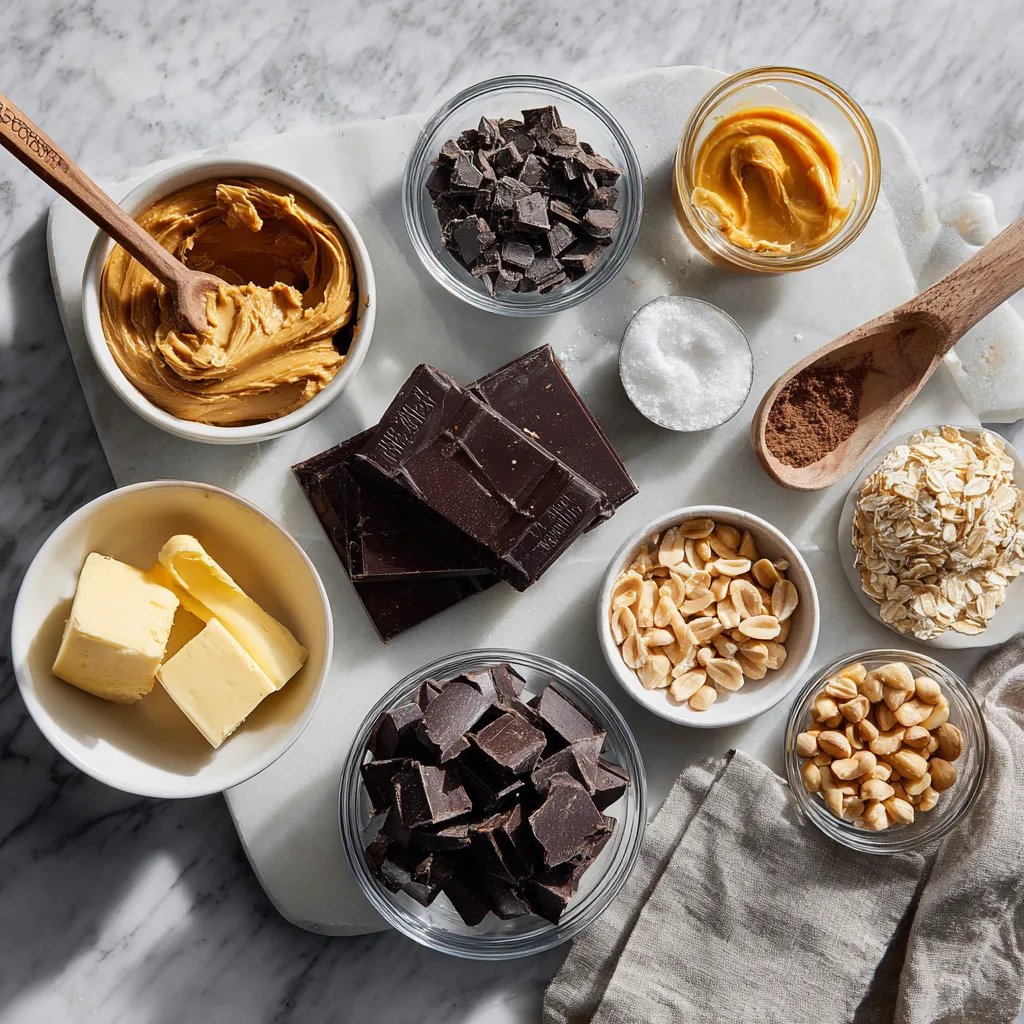
Ingredients
- 1 ½ cups creamy peanut butter
- 4 tablespoons unsalted butter, softened
- 1 ½ cups powdered sugar
- 1 teaspoon vanilla extract
- 2 cups milk or semi-sweet chocolate chips
- 1 tablespoon coconut oil or shortening (optional, for smoother coating)
- Crushed Reese’s peanut butter cups, for topping (optional)
- Chocolate drizzle or peanut butter drizzle, optional
Instructions
- Make the Peanut Butter Filling
In a large bowl, combine peanut butter and softened butter. Mix until smooth and fully blended. - Add Sweetness and Flavor
Stir in powdered sugar and vanilla extract. Mix until a thick, smooth dough forms that holds its shape. - Chill the Mixture
Cover the bowl and refrigerate for 30 minutes. This makes the mixture easier to roll. - Shape the Truffles
Scoop out tablespoon-sized portions and roll into smooth balls. Place on a parchment-lined baking sheet. - Freeze Briefly
Freeze the truffles for 15–20 minutes so they stay firm during dipping. - Melt the Chocolate
In a microwave-safe bowl, melt chocolate chips with coconut oil in 30-second intervals, stirring between each, until smooth. - Dip the Truffles
Using a fork or dipping tool, dip each truffle into the melted chocolate, tapping gently to remove excess. - Decorate
Place truffles back on parchment. Sprinkle with crushed Reese’s pieces or drizzle with chocolate before the coating sets. - Set and Serve
Refrigerate until chocolate is fully set. Serve chilled or at room temperature.
Reese’s Chocolate Truffles
No-bake chocolate truffles with a creamy peanut butter filling inspired by classic Reese’s flavor.
Ingredients
Equipment
Method
- Mix peanut butter and butter until smooth.
- Add powdered sugar and vanilla; mix until dough forms.
- Chill mixture for 30 minutes.
- Roll into balls and freeze briefly.
- Dip in melted chocolate and decorate.
Notes
Add coconut oil to chocolate for smoother coating and shine.
Texture and Technique Tips
- Use creamy peanut butter for the smoothest filling. Natural peanut butter can be too oily.
- Chilling is key — cold truffles dip cleaner and hold shape better.
- Add coconut oil to chocolate for a glossy finish and smoother coating.
- Work in batches if your kitchen is warm to prevent melting.
Flavor Variations to Try
Dark Chocolate Reese’s Truffles
Use dark chocolate for a deeper cocoa flavor and less sweetness.
White Chocolate Peanut Butter Truffles
Dip truffles in white chocolate for a sweeter, visually striking version.
Crunchy Peanut Butter Truffles
Use crunchy peanut butter for added texture inside.
Salted Reese’s Truffles
Sprinkle flaky sea salt on top before the chocolate sets for a gourmet finish.
Mini Truffle Bites
Roll smaller balls for bite-sized party treats.
When to Serve Reese’s Chocolate Truffles
These truffles are versatile and work for almost any occasion:
- Holiday dessert platters
- Birthday parties
- Bake sales
- Gift boxes and edible gifts
- Movie nights and celebrations
They store well and travel easily, making them ideal for sharing.
Make-Ahead and Storage Tips
- Make ahead: Truffles can be made up to 5 days in advance.
- Refrigeration: Store in an airtight container in the fridge.
- Freezing: Freeze up to 2 months; thaw briefly before serving.
Their texture stays creamy even after chilling, which makes them especially forgiving.
Why No-Bake Truffles Are So Popular
No-bake desserts like these Reese’s chocolate truffles are popular because they remove the stress from dessert making. There’s no worry about overbaking, underbaking, or precise temperatures. The recipe is flexible, forgiving, and perfect for beginners.
At the same time, the finished product feels elegant and indulgent — the best of both worlds.
Perfect Pairings
Serve these truffles with:
- Coffee or espresso
- Cold milk
- Hot chocolate
- Dessert wine or liqueur
Their rich flavor pairs beautifully with both warm and cold drinks.
Why This Reese’s Chocolate Truffle Recipe Works
This recipe balances sweetness, richness, and texture. The peanut butter center stays soft but structured, the chocolate coating adds contrast, and the optional toppings allow for customization. It’s simple, reliable, and endlessly adaptable — everything a great dessert recipe should be.
Once you make these once, they tend to become a repeat favorite.