Follow Me On Social Media!
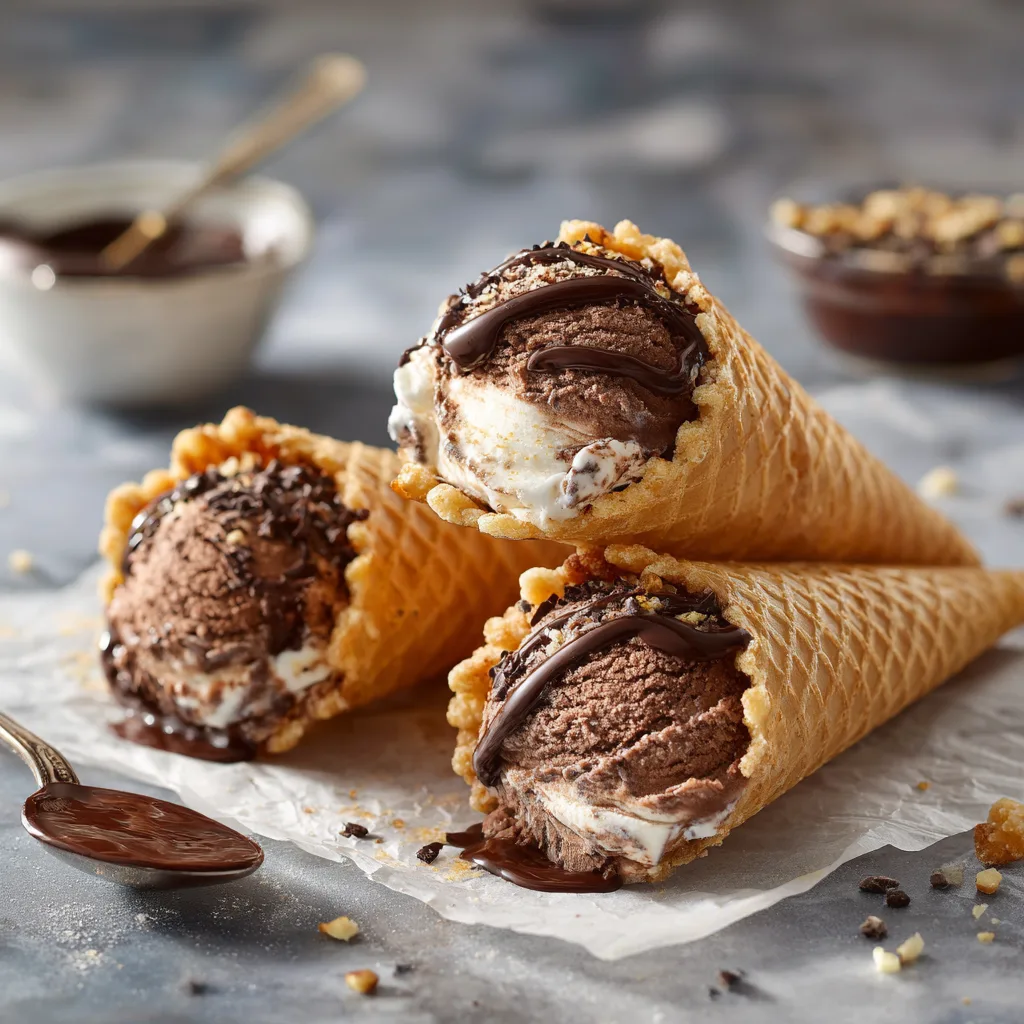
Crunchy Chocolate Cream Cones
A no-bake dessert with crisp cones and silky chocolate filling
Crunchy Chocolate Cream Cones are the kind of dessert that instantly triggers nostalgia while still feeling modern and indulgent. Crisp waffle-style cones lined with chocolate, filled with airy chocolate cream, and finished with crunchy toppings—this recipe delivers contrast in every bite. Crunchy. Creamy. Rich. Light. It’s everything a great dessert should be.
What makes these cones special is how simple they are to prepare while still looking bakery-worthy. There’s no oven required, no complicated techniques, and no fancy equipment. Yet the result is a dessert that feels playful enough for kids and elegant enough for parties, holidays, or dessert tables.
These cones are perfect when you want a no-bake chocolate dessert, something quick but impressive, or a make-ahead treat that holds its texture and flavor. The chocolate-lined cone stays crisp, the filling stays fluffy, and the whole dessert feels intentional rather than rushed.
Why Crunchy Chocolate Cream Cones Work So Well
This recipe is built on texture balance. Crisp cones alone can turn soggy when filled, but coating the inside with chocolate creates a protective barrier. That layer not only adds flavor but also keeps the cone crunchy for hours.
The filling is light and whipped, not dense or heavy. It complements the cone instead of overpowering it. And because the cones are served individually, they’re easy to portion, transport, and display.
They’re ideal for:
- No-bake dessert menus
- Birthday parties and celebrations
- Summer treats without melting mess
- Dessert cups or cone bars
Ingredients You’ll Need
- Crisp waffle or sugar cones
- Semi-sweet chocolate
- Heavy whipping cream
- Powdered sugar
- Cocoa powder
- Vanilla extract
- Chocolate sprinkles, cookie crumbs, or nuts (optional)
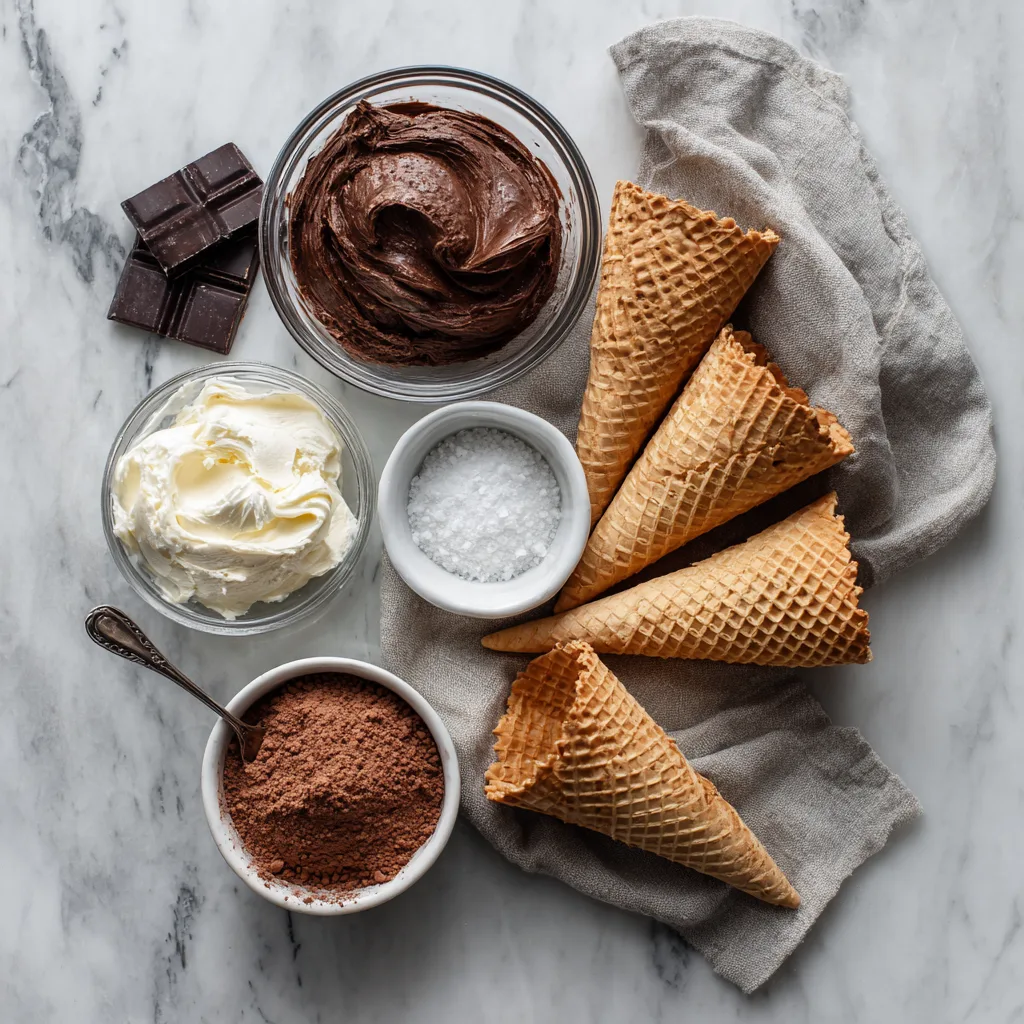
Each ingredient has a purpose. The chocolate seals the cone. The cream creates volume. The cocoa deepens flavor without making the filling heavy. Together, they create a balanced dessert that doesn’t feel overly sweet.
Instructions
- Melt the semi-sweet chocolate gently using a double boiler or microwave in short intervals, stirring until smooth.
- Spoon or brush melted chocolate inside each cone, coating the interior evenly. Let excess drip out.
- Place cones upright and allow the chocolate to set completely at room temperature or in the refrigerator.
- In a mixing bowl, whip the heavy cream until soft peaks form.
- Add powdered sugar, cocoa powder, and vanilla extract. Continue whipping until stiff, fluffy peaks form.
- Transfer the chocolate cream to a piping bag or spoon.
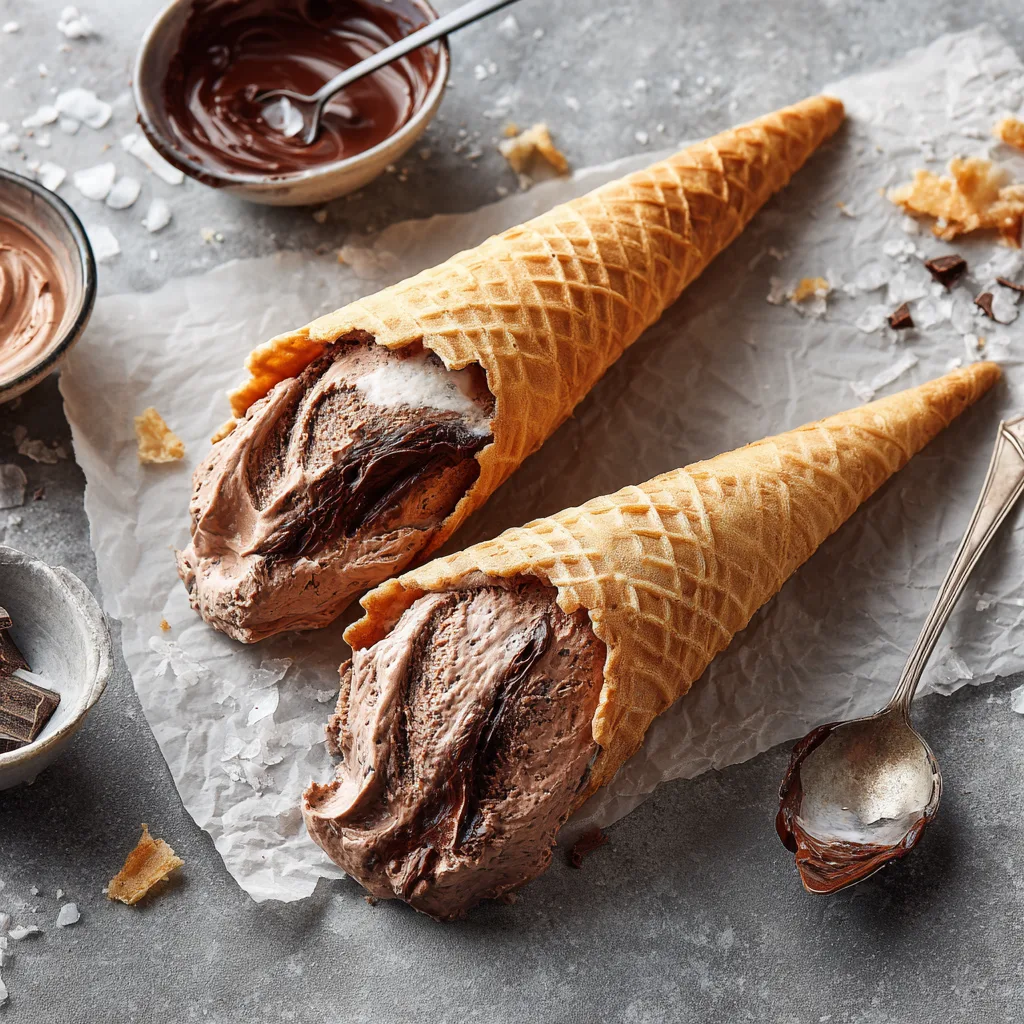
- Fill each chocolate-lined cone generously with the chocolate cream.
- Finish with sprinkles, cookie crumbs, or shaved chocolate on top.
- Serve immediately or chill briefly before serving.
Crunchy Chocolate Cream Cones
Crisp cones lined with chocolate and filled with fluffy chocolate cream for an easy no-bake dessert.
Ingredients
Equipment
Method
- Coat inside of cones with melted chocolate and let set.
- Whip cream with sugar, cocoa, and vanilla until stiff.
- Fill cones with chocolate cream.
- Top with desired crunchy toppings and serve.
Notes
Best served the same day for maximum crunch.
The Secret to Keeping Cones Crunchy
The chocolate lining is non-negotiable. Without it, moisture from the cream softens the cone within minutes. A thin but complete coating creates a moisture barrier that keeps cones crisp for hours.
Another key detail is serving temperature. These cones are best served chilled but not frozen. Freezing dulls the texture and softens the cone once thawed.
Flavor Variations
- Cookies & Cream Cones: Fold crushed chocolate cookies into the cream.
- Hazelnut Chocolate: Add a spoon of hazelnut spread to the filling.
- Mint Chocolate: Add a drop of peppermint extract.
- Peanut Butter Crunch: Swirl peanut butter into the cream and top with crushed peanuts.
Serving Suggestions
Serve Crunchy Chocolate Cream Cones upright in glasses, cone holders, or foam stands for parties. They’re perfect as individual desserts, which makes them ideal for buffets and events.
You can also create a DIY cone bar, letting guests choose toppings and fillings for a fun interactive dessert experience.
Storage Tips
These cones can be assembled up to 6 hours ahead and stored in the refrigerator. For best texture, wait to add crunchy toppings until just before serving.
Avoid humidity—moist air can soften cones over time.
Fun Dessert Fact
Chocolate acts as a natural moisture barrier in many desserts. That’s why chocolate-dipped cones stay crisp longer—and why this technique is used in commercial ice cream cones.